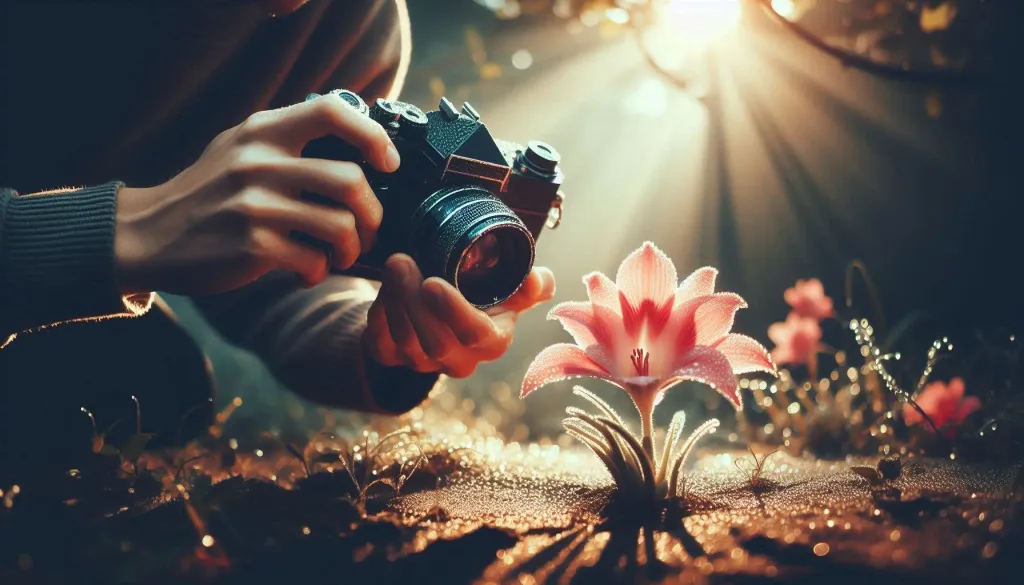
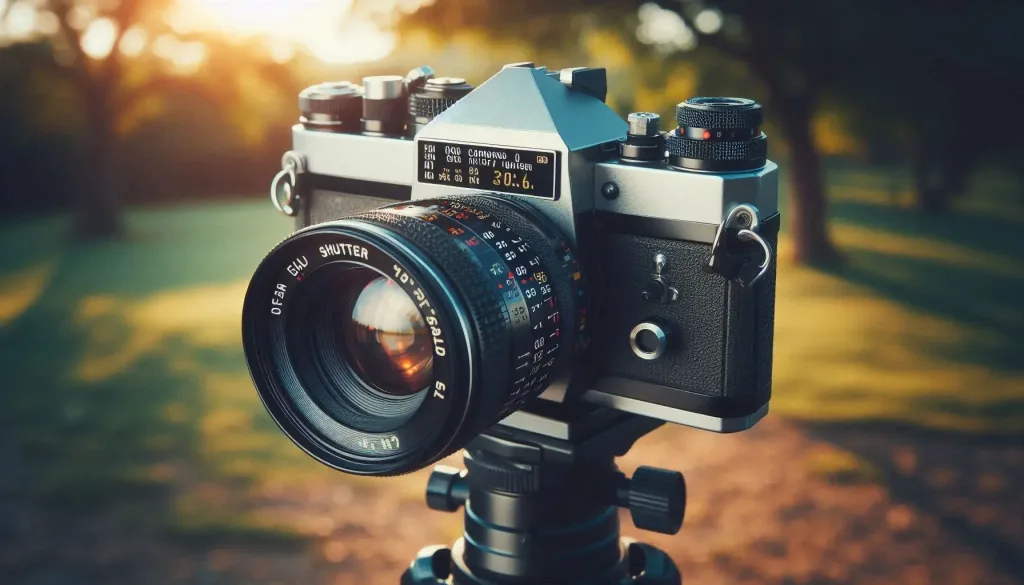
📸 New to photography? Start with the “Rule of Thirds.” Imagine a grid on your viewfinder and place your subject at the intersection points for a more balanced composition! #PhotographyTips #BeginnerPhotography
Introduction
Starting your photography journey can be both exciting and overwhelming. With so many techniques, settings, and gear options, it’s easy to feel lost. But fear not! This guide on “24 Photography Tips for Beginners in 2024” is here to help you hit the ground running. Whether you’re just picking up a camera or looking to refine your skills, these practical tips will boost your confidence and elevate your photos from average to amazing. Let’s dive into the world of photography and explore how you can capture breathtaking moments!
Understanding Your Camera
Learn the Basics of Camera Settings
Getting comfortable with your camera is the first step to mastering photography. Start by learning the basic settings: aperture, shutter speed, and ISO. These elements form the “exposure triangle” and are crucial for controlling the amount of light that reaches your camera sensor. Adjusting these settings allows you to create different effects, such as blurred backgrounds or freezing action in motion. Spend time experimenting with each setting to see how they impact your photos.
How to Choose the Right Camera Mode for Different Scenarios
Most cameras come with various shooting modes like Auto, Aperture Priority (A), Shutter Priority (S), and Manual (M). For beginners, understanding these modes can make shooting less daunting. Auto mode is perfect for quick shots, but as you gain confidence, try using Aperture Priority for portraits or Shutter Priority for action shots. Gradually transition to Manual mode for full control over your shots.
Understanding Lenses: Which One Should You Use?
Lenses are an essential part of photography that can dramatically affect your images. A prime lens with a fixed focal length, like 50mm, is great for portraits and learning basic techniques. Zoom lenses, on the other hand, offer versatility in focal lengths, allowing you to capture both wide landscapes and close-ups. Understanding which lens suits your needs will enhance your creative possibilities.

Mastering Composition
The Rule of Thirds: A Beginner’s Guide
Composition is the art of arranging elements in your photo. One of the simplest yet most effective rules is the Rule of Thirds. Imagine dividing your frame into a 3×3 grid. Placing your subject along these lines or at their intersections creates a balanced and engaging image. Practice this technique to see how it transforms ordinary shots into captivating ones.
Leading Lines and Framing: Drawing the Eye
Leading lines guide the viewer’s eye towards the main subject. These lines can be anything from a winding road, a bridge, or even a row of trees. Framing, on the other hand, involves using elements like windows or arches to focus attention on your subject. Mastering these techniques adds depth and interest to your photos.
Playing with Symmetry and Patterns in Photography
Symmetry and patterns provide a sense of harmony and order. Look for natural or man-made patterns, such as tiled floors or repetitive architectural elements. Symmetrical photos, where both halves mirror each other, can create a striking visual effect. Incorporate these techniques to bring a professional touch to your photography.
Lighting Techniques for Beginners
Natural Light vs. Artificial Light: When and How to Use Them
Lighting can make or break a photo. Natural light, such as sunlight, is often softer and more flattering, especially during the “golden hour” — the hour after sunrise and before sunset. Artificial light, like flash or studio lighting, gives you control over the intensity and direction of light. Knowing when to use each type of light helps create the mood and effect you want in your photos.
Golden Hour and Blue Hour: What You Need to Know
The “Golden Hour” provides a warm, soft light ideal for portraits and landscapes, while the “Blue Hour,” just after sunset or before sunrise, offers a cool, bluish tone perfect for cityscapes and night photography. Plan your shoots around these times to take advantage of the best natural lighting.
Basic Tips for Using Flash Effectively
Flash photography can be tricky but rewarding when done correctly. Avoid harsh shadows by bouncing the flash off a ceiling or wall. You can also use a diffuser to soften the light, resulting in more natural-looking photos. Remember, flash isn’t just for low light; it can also fill in shadows on bright days.

Camera Settings That Matter
Mastering ISO, Aperture, and Shutter Speed
ISO controls the camera’s sensitivity to light, aperture affects the depth of field, and shutter speed determines how motion is captured. A lower ISO reduces noise, a wider aperture (like f/1.8) creates a blurred background, and a fast shutter speed (like 1/1000) freezes motion. Understanding how these settings work together is key to achieving the desired effect.
Understanding White Balance and How It Affects Your Photos
White balance ensures that colors in your photos look natural under different lighting conditions. Different light sources have different color temperatures, which can affect the color balance of your photos. Learn how to adjust white balance manually or use presets for accurate colors.
The Importance of Focus and How to Control It
Sharp focus is crucial for any good photograph. Use single-point focus for portraits, allowing you to choose exactly where to focus, or continuous focus for moving subjects. Take advantage of your camera’s autofocus modes and manual focus options to achieve sharp, crisp images.
Practical Tips for Better Photos
Why You Should Always Have a Fully Charged Battery
Nothing is more frustrating than a dead battery during a shoot. Always carry a spare battery, and make it a habit to charge your batteries after every session. This simple preparation can save you from missing that perfect shot.
Tips for Keeping Your Camera Steady
A camera shake can ruin an otherwise great photo. Use a tripod for low-light conditions or long exposures. Alternatively, practice holding your camera steadily, tuck your elbows close to your body, and use a shutter release or timer to minimize shake.
Exploring Different Angles and Perspectives
Don’t just shoot from eye level. Experiment with high-angle shots for a broader view or low-angle shots to make your subject appear more dominant. Changing your perspective adds variety and creativity to your shots.

Editing and Post-Processing for Beginners
**Introduction to Basic# Editing and Post-Processing for Beginners
Introduction to Basic Photo Editing Software
Once you’ve captured your photos, editing can help you refine and enhance them. Start with simple, beginner-friendly software like Adobe Lightroom, which offers a wide range of tools to adjust exposure, contrast, and colors without being overwhelming. Alternatively, free software like GIMP or Darktable can provide robust editing capabilities without the cost. The key is to familiarize yourself with basic adjustments like cropping, straightening, and correcting exposure.
Tips for Enhancing Photos Without Overdoing It
When editing, it’s easy to get carried away with filters and adjustments. Aim for subtle enhancements that retain the natural look of your photos. Adjust brightness, contrast, and saturation gently to bring out the best in your images without making them look artificial. Less is often more in photo editing, especially for beginners.
Understanding File Formats: JPEG vs. RAW
The file format you choose can impact the quality and flexibility of your photos. JPEGs are compressed files that save space but may lose some detail. RAW files, on the other hand, retain all the data captured by your camera, offering greater flexibility for editing. Shooting in RAW is recommended for beginners who want to experiment with editing and achieve the highest-quality results.
🖌️ Simplicity is key! Avoid cluttered backgrounds that distract from your main subject. Keep it clean and focused for maximum impact! ✨ #MinimalismInPhotography #PhotographyBasics
Joining a Photography Community
Benefits of Participating in Online Photography Forums
Connecting with other photographers can provide invaluable feedback and inspiration. Online communities like Reddit, Flickr, and specialized forums offer a platform to share your work, ask questions, and learn from others. Discussions, challenges, and critiques can help you grow and stay motivated.
How to Find Local Photography Workshops and Meetups
Local workshops and meetups are great ways to learn hands-on from professionals and network with fellow photography enthusiasts. Check out local photography clubs, community centers, or platforms like Meetup.com to find events near you. Participating in these activities can provide practical experience and new perspectives on your photography journey.
Conclusion
Final Thoughts on Your Photography Journey
Embarking on a photography journey is an exciting adventure filled with learning and creativity. By applying these “24 Photography Tips for Beginners in 2024,” you’ll be well-equipped to capture beautiful images and continuously improve your skills. Remember that practice is key; don’t be afraid to experiment with different techniques and settings. Photography is as much about the experience as the final image.
Frequently Asked Questions (FAQs)
How do I choose the best camera as a beginner?
Choosing the best camera depends on your budget and what you plan to shoot. Consider entry-level DSLRs or mirrorless cameras that offer manual settings and interchangeable lenses, which provide room for growth as you improve your skills.
What are some good subjects for beginner photographers?
Begin with subjects you find interesting or have easy access to, such as nature, pets, architecture, or everyday objects. Practicing with these subjects will help you understand different lighting conditions, angles, and compositions.
Is it necessary to edit my photos?
Editing is not mandatory, but it can significantly enhance your photos. Simple adjustments like cropping, brightness, and contrast corrections can make a big difference in the final image.
What is the best time of day to take photos?
The best time is usually during the “Golden Hour” — the hour after sunrise or before sunset — when the light is soft and warm. However, the “Blue Hour” just after sunset or before sunrise offers unique, cool lighting for different types of photography.
How can I improve my photography skills quickly?
Practice regularly, learn from your mistakes, and seek feedback from more experienced photographers. Engage with photography communities, take workshops, and experiment with different techniques and settings.
Should I invest in expensive equipment right away?
No, start with a basic camera and lens to learn the fundamentals. As your skills grow, you’ll better understand what gear will enhance your photography and make more informed decisions on future purchases.
By following these tips, beginners can set themselves on a path to mastering photography in 2024. Remember, the best camera is the one you have with you, and the most important thing is to enjoy the process. Happy shooting!
